 how-to
How to Spot Quality Painting Materials: 7 Tests
Table of Contents
- Why Cheap Paint Costs More in the Long Run
- Test 1: Check the Pigment Load and Tinting Strength
- Test 2: Evaluate the Binder and Resin Quality
- Test 3: Understand the Difference Between Contractor Grade and Premium Paint
- Test 4: Verify Lightfastness and Archival Quality
- Test 5: Read the Label for VOCs and Additives
- Test 6: Gather Essential Painting Tools for Professional Results
- Test 7: Learn How to Choose the Right Paint Finish for Walls
- Frequently Asked Questions
Last Updated: September 7, 2026
Why Cheap Paint Costs More in the Long Run
The difference between a $25 gallon and a $60 gallon often comes down to how long you'll wait before repainting. Budget paint typically requires two or three coats, while a higher-quality product with a dense pigment load often hides a surface in a single pass. When you calculate the extra labor, primer, and time, the savings evaporate quickly.
A homeowner who buys inexpensive contractor-grade material often ends up paying for a second paint job within a few years.
Learning how to spot quality painting materials before you buy is the single most reliable way to protect your investment, and knowing what separates quality painting materials from budget alternatives is the first step. You don't need a chemistry degree, a few simple physical tests, a careful read of the label, and an understanding of the jargon will tell you almost everything.
Test 1: Check the Pigment Load and Tinting Strength
Pigment load is the concentration of color particles in the paint, determining both coverage and color saturation. High-quality paint contains more pigment per volume, meaning better opacity, richer color, and fewer coats required.
Stir the paint thoroughly. Quality paint should feel thick and creamy, clinging to the stir stick rather than running off like water, with a dense, opaque color.
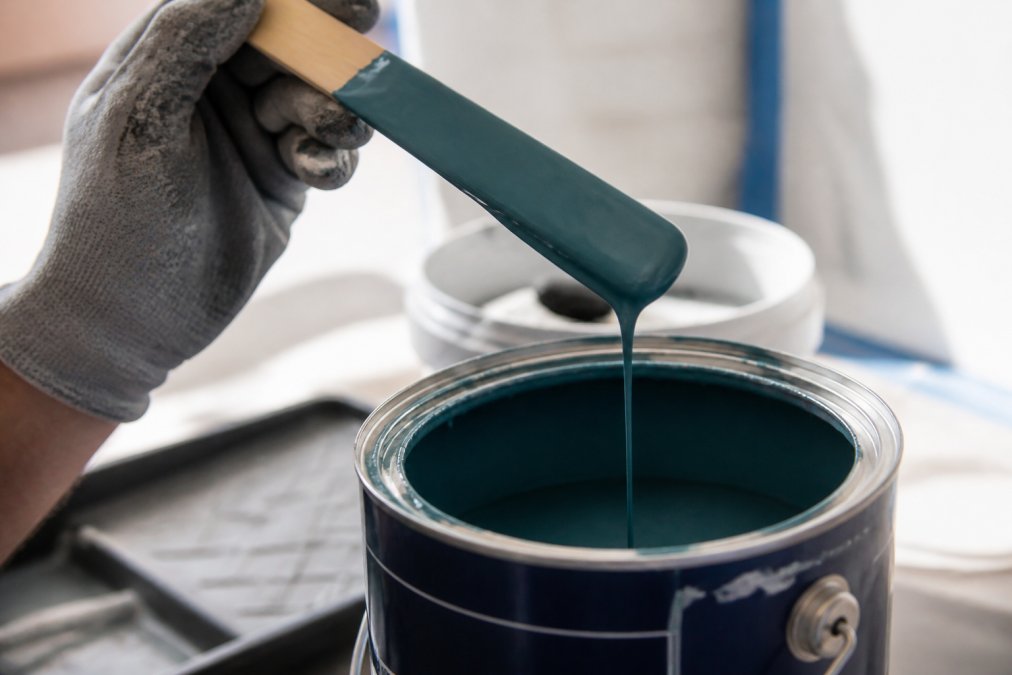
Tinting strength refers to how much color a small amount of paint can deliver when mixed with white. Mix a drop of your paint into a tablespoon of white paint. If the color remains strong, the tinting strength is high; if it washes out quickly, the pigment load is weak and you'll need extra coats.
Test 2: Evaluate the Binder and Resin Quality
The binder holds pigment particles together and adheres them to the wall. Without a quality binder, even the best pigment will fail to form a durable film. Resin quality directly affects adhesion, cracking resistance, and resistance to washing and weathering.
Apply a thin film to clean cardboard or glass and let it dry completely. Quality paint forms a smooth, continuous, flexible film; cheap paint often dries brittle and chalky, cracking or powdering when bent.
Quality paint has a consistent, smooth body that levels out after application, leaving minimal brush marks. Paint that is overly thick and gloppy, or thin and watery, signals poor formulation.
Test 3: Understand the Difference Between Contractor Grade and Premium Paint
The difference between contractor grade and premium paint is not marketing hype; it's a measurable gap in formulation. Contractor-grade paint is engineered for speed and low cost, with reduced pigment and resin content. Premium paint carries a higher price because it contains more of the materials that actually protect your walls.
Contractor grade often performs acceptably on rental turnovers or quick flips where short-term appearance matters more than durability. Premium paint is formulated for longevity, with higher solids content, better adhesion, and more resistance to scuffs and stains.
| Paint Grade | Pigment Load | Resin Content | Typical Lifespan | Best Use Case |
|---|---|---|---|---|
| Contractor Grade | Lower | Lower | 3-5 years | Rentals, quick flips |
| Mid-Range | Moderate | Moderate | 5-8 years | Average homeowner DIY |
| Premium | High | High | 10-15 years | Family homes, exterior |
If you're painting a home you plan to live in for years, the cost difference between grades is small compared to the labor cost of repainting. Paying more upfront for premium paint is one of the most cost-effective decisions a homeowner can make.
Test 4: Verify Lightfastness and Archival Quality
Lightfastness measures how well a pigment resists fading when exposed to ultraviolet light, critical for exterior paint and sun-exposed interior rooms. The permanence rating on a paint label tells you how the manufacturer rates the pigment's resistance to fading.
Most reputable manufacturers publish a lightfastness rating from I to III, where I is excellent and III is poor. Look for a rating of I or II on any paint intended for sun-exposed surfaces. The archival quality of paint refers to its stability over time, including resistance to yellowing, chalking, and color shift.
ASTM International's standard test methods for lightfastness of pigments provide a technical framework for these ratings. While you don't need to understand the full methodology, knowing that the rating exists and checking it before purchase can prevent a costly fading problem down the road.
Test 5: Read the Label for VOCs and Additives
The label on a paint can contains a wealth of information if you know what to look for. VOC levels (volatile organic compounds) are a primary concern for indoor air quality. The Environmental Protection Agency regulates VOC content in architectural coatings, and lower-VOC paints are widely available.
EPA regulations on VOC content in architectural coatings set limits that manufacturers must meet. Paint labeled "low-VOC" typically contains fewer than 50 grams per liter, while "zero-VOC" paint drops below 5 grams per liter. For interior projects, especially bedrooms and nurseries, choosing a low-VOC product reduces off-gassing and improves indoor air quality during and after application.
Beyond VOCs, scan the label for additives that affect performance. Some paints include mildewcides for humid environments, while others improve flow and leveling. A label with few ingredients and little technical information often signals a lower-quality formulation.
Test 6: Gather Essential Painting Tools for Professional Results
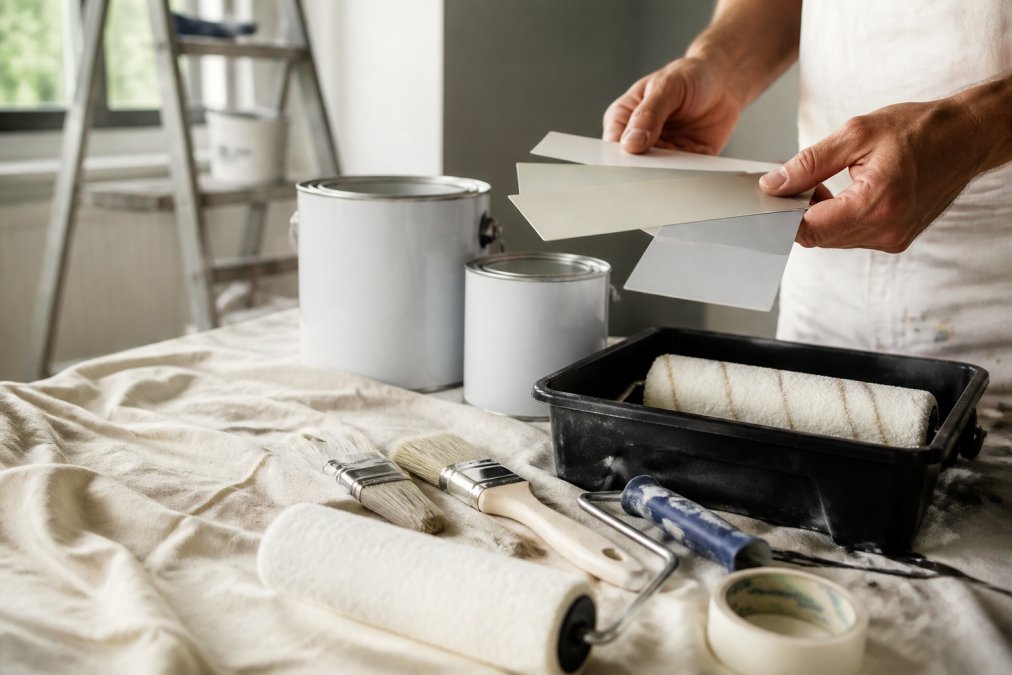
Quality paint on poor tools still produces a poor result. The essential painting tools for professional results include a high-quality brush, a proper roller cover, and painter's tape designed for clean edges. Skimping on tools undermines your investment in good paint.
Here's a practical, in-store examination routine that separates professional-grade tools from disposable ones.
The Brush Test: Bristle Behavior and Ferrule Integrity
A quality brush holds more paint, releases it evenly, and leaves fewer brush marks. Look for flagged (split) bristle tips for a smoother finish, but the real test is in bristle density and the ferrule, the metal band holding the bristles.
- Density check: Press the bristles against your palm and spread them slightly. A quality brush should feel dense and spring back immediately. A cheap brush feels sparse and floppy, holding less paint and leaving streaks.
- Ferrule check: Look for a securely crimped ferrule with no gaps or wobble. A loose ferrule means bristles will shed into your wet paint. Run your fingers through the bristles; if more than a couple of loose hairs come out, put it back.
- Bristle material: Natural bristle is best for oil-based paints but swells in water-based latex. For latex, choose synthetic nylon or polyester. Nylon holds its shape in water, while polyester resists acrylic solvents. Many premium brushes blend both.
The Roller Test: Nap, Core, and Shedding
For rollers, nap thickness should match your surface: 3/8-inch for smooth walls, 1/2-inch for semi-textured, and 3/4-inch for rough exterior stucco or brick. But nap length alone doesn't tell you if the roller is quality.
- Core check: Roll the cover between your hands. A quality roller has a stiff core that doesn't flex. A flimsy core causes wobble on the frame, leading to uneven pressure and roller marks.
- Shedding test: Rub the cover firmly against your palm in a circular motion. If fibers come off, that cover will shed lint into your finish. Quality covers resist shedding.
- Fabric type: Microfiber covers hold more paint and release it more evenly than lambswool or polyester blends. For smooth walls, a 3/8-inch microfiber cover is the professional standard.
The Tape Test: Adhesion Without Residue
Painter's tape is not all the same. The cheap blue tape at the hardware store is for general masking, not crisp paint lines. Quality painter's tape uses a medium-tack adhesive that sticks firmly but releases cleanly without pulling fresh paint off the wall.
- Edge quality: Look for "clean edge" technology, a specially treated edge that prevents paint from bleeding underneath. This is often advertised as "sharp lines" or "bleed-resistant."
- Adhesion test: Press a small piece of tape to your palm and pull it off quickly. If it leaves a sticky residue, it will likely do the same on your wall. Quality tape releases cleanly.
- Removal timing: Most quality tapes are rated for removal within 14 days. Leaving tape on longer risks adhesive transfer. Check the package for the maximum removal window.
Your tools also affect how much paint you waste. A cheap brush that sheds bristles forces you to pick out defects and repaint sections. Quality tools pay for themselves through cleaner application and less rework. The physical tests above, density, ferrule integrity, shedding, and adhesion, take less than two minutes and prevent hours of frustration.
Test 7: Learn How to Choose the Right Paint Finish for Walls
The finish determines both the appearance and durability of your painted surface. How to choose the right paint finish for walls depends on the room's function and the condition of your walls. Flat finishes hide imperfections but scuff easily; eggshell and satin balance durability with a subtle sheen; semi-gloss and gloss are highly washable but reveal surface flaws.
For high-traffic areas like hallways and kids' rooms, satin or eggshell offers the best balance of washability and appearance. For bathrooms and kitchens, semi-gloss resists water and cleans easily. For ceilings and low-traffic adult bedrooms, flat provides a smooth, non-reflective look.
Consumer Reports guidance on selecting interior paint finishes confirms that higher-sheen finishes generally offer better stain resistance and durability. The trade-off is that glossier finishes show every imperfection in the wall surface, so proper surface preparation becomes even more critical.
The Sheen Scrub Test: What the Label Doesn't Tell You
Here's a unique angle most articles miss: you can physically test a finish's durability before you commit to a full wall. Manufacturers publish scrub-resistance ratings, but those numbers come from controlled lab conditions. Your walls face real-world abuse, scuff marks, crayon, and harsh cleaning products.
The scrub test: Paint a small sample of each candidate finish on drywall or primed wood. Let it cure for the full time specified on the label, usually 30 days for full hardness, not the 2 hours to dry to the touch. Then scrub each sample with a standard kitchen sponge and mild dish soap for 20 strokes. You'll see which finish holds up and which wears through to the primer.
The stain-release test: Apply a small mark with a permanent marker, a grease pencil, and a drop of coffee to each sample. Let them sit for an hour, then clean with your standard household cleaner. Flat finishes will often absorb the stain permanently. Eggshell will resist some, and semi-gloss will wipe clean with minimal effort.
The Sheen and Light Interaction Test
Glossier finishes reflect more light, which is why they show wall imperfections. But the degree of reflection varies significantly between brands, even within the same sheen category. A "satin" from one manufacturer may look closer to eggshell, while another's approaches semi-gloss.
The light test: Paint samples on a board and view them at a glancing angle under a bright light, ideally a work light held parallel to the surface. This simulates how sunlight or track lighting will hit your finished wall. You'll see every roller mark, patch, and imperfection that a higher-sheen finish will exaggerate. If your walls have significant flaws, this test will convince you to stay with flat or eggshell.
The Moisture Resistance Check for Bathrooms and Kitchens
For bathrooms and kitchens, moisture resistance is critical. A finish that looks fine on a bedroom wall may blister or peel in a steam-filled bathroom. Most manufacturers now offer specific bathroom and kitchen formulations with added mildewcides and moisture barriers.
The water bead test: After your sample boards have cured for 30 days, spray them with water. A quality semi-gloss or satin finish will cause water to bead up and roll off. A flat or low-quality finish will absorb the water, darkening the surface, the first step toward mildew growth and paint failure.
Match the finish to the wall's condition, not just the room's style. If your walls have patches or imperfections, a flat or eggshell finish will hide them better than a gloss. If durability matters more than hiding flaws, step up to satin or semi-gloss. But don't rely solely on the label's sheen name, run the scrub, stain, light, and water tests on samples to see how the finish actually performs in your home's conditions.
Frequently Asked Questions
How can you tell if paint is good quality?
Good quality paint feels thick and creamy when stirred, not watery. Check the label for high pigment and binder content. High-quality paint also has a strong color that covers in one or two coats. Look for lightfastness ratings and low VOC levels. Testing a small patch on a wall is the best way to judge coverage and adhesion before committing to a full project.
What is the difference between contractor grade and premium paint?
Contractor grade paint is formulated for cost-efficiency and speed, often requiring more coats and offering less durability. Premium paint contains higher pigment load and better binders, resulting in superior coverage, color retention, and washability. For residential projects, premium paint lasts longer and protects surfaces better, making it a wiser investment. The difference becomes clear when you compare the finished look after a year.
What role do binders and pigments play in paint quality?
Pigments provide the color and coverage, while binders hold the pigment together and make the paint stick to the wall. High-quality paint has a high pigment-to-binder ratio, which creates better opacity and color saturation. The binder, often a resin, also determines the paint's durability, flexibility, and resistance to cracking. Low-quality paint uses cheaper binders that break down faster, leading to peeling and fading.
How do you know if a paintbrush is high quality?
A high-quality paintbrush has densely packed, split-tip bristles that feel soft and spring back to shape when bent. Check for secure ferrule attachment to the handle. For latex paints, synthetic bristles like nylon or polyester are best. A good brush will hold a lot of paint and release it evenly, reducing brush marks and saving you time on the job.