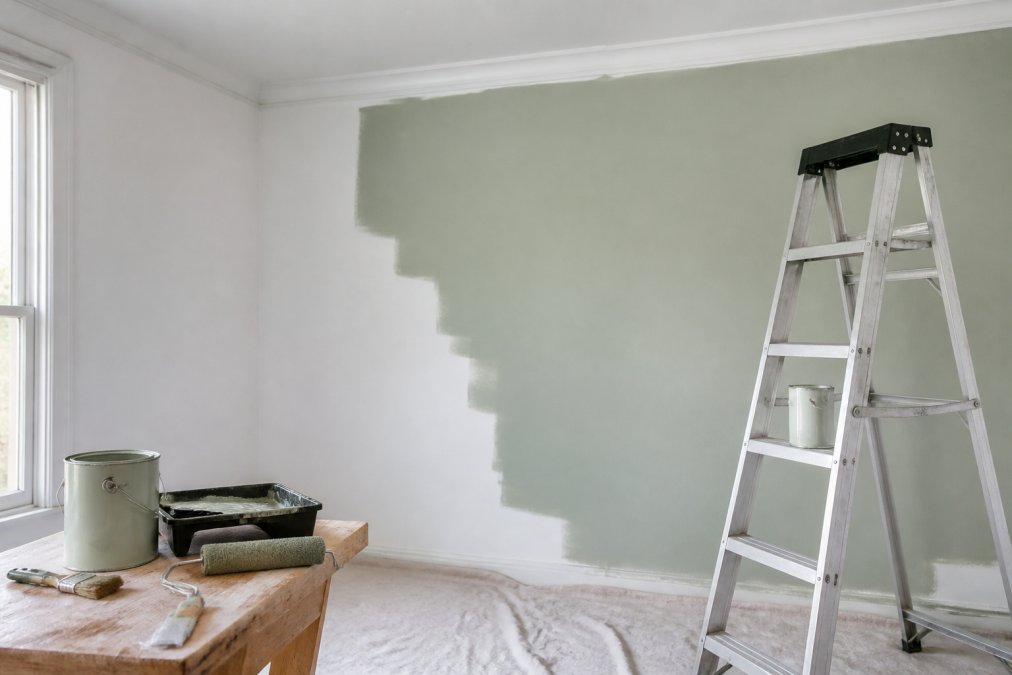
 ultimate-guide
Interior Painting Tips for Homeowners 2026
Table of Contents
- 2026 Interior Paint Color Trends and Palettes
- Best Interior Paint Finishes for 2026
- Preparation Before Painting: The Foundation of Professional Results
- Essential Interior Painting Tools for Homeowners
- How to Properly Prime Walls and Apply Paint
- Eco-Friendly and Low-VOC Paint Options
- Cost to Paint Interior of House: DIY vs. Professional
- Troubleshooting Common Painting Mistakes
- Frequently Asked Questions
Last Updated: September 2, 2026
2026 Interior Paint Color Trends and Palettes
The color palette dominating 2026 interior design reflects a shift toward natural, calming aesthetics. Warm neutrals and earthy tones have replaced the cool grays of the previous decade, responding to homeowners' desire for spaces that feel grounded and connected to nature.
Warm Neutrals and Earthy Tones Dominating Design
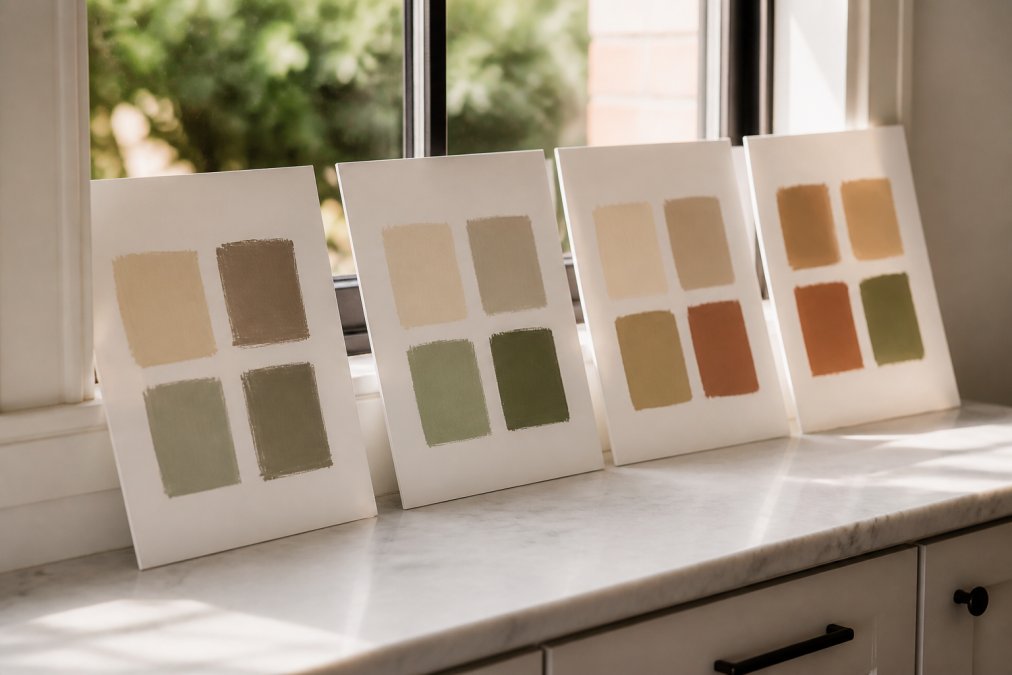
Warm neutrals have become the default choice for main living spaces. Greige, a sophisticated blend of gray and beige, sits at the center of this trend, offering cool undertones with warmth that creates inviting rather than clinical spaces. Sage green functions as a neutral in many spaces while remaining sophisticated enough for formal living areas, pairing naturally with warm metals, natural wood, and textiles without overwhelming the space.
Earthy browns and terracotta tones are experiencing a renaissance, moving beyond accent walls into primary room treatments. The key difference from earlier iterations is the undertone: 2026 earthy tones lean toward organic, muted versions rather than saturated, artificial-looking browns. These palettes offer practical flexibility, a room painted in warm neutrals accommodates multiple design directions as your taste evolves without the wall color fighting against your choices.
Accent Colors and Color Pairing Strategies
Strategic accent colors prevent warm neutral palettes from feeling monotonous. The 2026 approach favors restrained use of deeper, more saturated tones rather than bright pops of color. Deep forest green, charcoal, and muted navy function as accent colors that add sophistication without visual chaos.
Color pairing in 2026 follows clear logic: pair warm neutrals with cooler accents or vice versa. In smaller rooms, accent color works better in trim, built-ins, or carefully placed elements like a painted bookshelf or door. Test your color pairing by painting large swatches on different walls and observing them at various times of day, morning light, afternoon light, and artificial evening light reveal how colors truly perform in your space.
Best Interior Paint Finishes for 2026
The finish, or sheen, of your paint determines how light reflects off the wall and affects both aesthetics and durability. The right finish makes paint easier to clean, more durable in high-traffic areas, and more forgiving of imperfect wall preparation.
Matte vs. Eggshell vs. Satin: Which Sheen Works Where
Matte finish absorbs light completely, creating a velvety, sophisticated appearance that hides wall imperfections better than any other finish. It works exceptionally well in formal living areas, bedrooms, and dining rooms. The trade-off is durability: matte finishes resist cleaning and mark easily, making them suitable only for walls without frequent contact or moisture.
Eggshell sheen represents the practical middle ground. It reflects minimal light while remaining significantly more durable than matte, resisting staining and allowing gentle cleaning. For most interior spaces, eggshell delivers the best balance of aesthetics and functionality.
Satin finish reflects noticeably more light and offers maximum durability and cleanability. Satin works best in kitchens, bathrooms, and high-traffic areas where moisture, cooking splatter, or frequent contact demands a strong finish. Strategic finish selection means using matte or eggshell in formal spaces and satin in kitchens, bathrooms, and trim, maximizing both aesthetics and durability where each matters most.
Preparation Before Painting: The Foundation of Professional Results
Preparation determines whether your paint job looks amateur or professional. Paint adheres only as well as the surface beneath it, and any imperfection will telegraph through the finished coat.
Surface Preparation and Drywall Repair
Begin by assessing your walls honestly. Run your hand across every surface and look at walls in harsh side lighting to reveal imperfections invisible in normal conditions. Holes, dents, cracks, and rough patches must be addressed before painting begins.
For small holes, spackling compound works efficiently. Apply it slightly overfilled, allow it to dry completely, then sand smooth. For larger damage, drywall patching becomes necessary. The key principle: the patch should be invisible after painting, requiring careful feathering of edges so the patch blends seamlessly with surrounding wall.
Existing paint must be in good condition. Any peeling, bubbling, or flaking paint must be removed back to solid material. Glossy or semi-gloss existing paint should be lightly sanded to improve new paint adhesion. After all repair and sanding work, vacuum thoroughly, then wipe every surface with a tack cloth or slightly damp cloth to remove dust.
Step by Step Drywall Crack Repair Guide
Step 1: Assess the crack. Hairline cracks can be filled directly. Wider cracks (more than 1/8 inch) need reinforcement. Cracks wider than 1/4 inch indicate potential structural movement and should be evaluated before painting.
Step 2: Clean the crack. Use a putty knife to remove loose material and widen the crack slightly into a V-shape, giving the spackling compound more surface area to grip.
Step 3: Apply spackling or joint compound. For hairline cracks, spackling compound works fine. For wider cracks, use joint compound, which shrinks less and bonds more securely. Apply with a putty knife, pressing firmly into the crack and feathering edges outward 2-3 inches.
Step 4: Allow proper drying time. Spackling typically dries in 1-2 hours, but joint compound requires 24 hours.
Step 5: Sand smooth. Once fully dry, sand the repair area with 120-150 grit sandpaper until completely smooth and blended invisibly with surrounding wall.
Step 6: Apply a second coat if necessary. For wider repairs, a second thin coat of compound provides better results than one thick coat, with edges feathered even wider.
Step 7: Prime the repair. Prime the repair area and 6 inches beyond it to ensure even paint coverage and prevent the repair from showing as a dull or shiny spot after painting.
Essential Interior Painting Tools for Homeowners
Quality tools make a measurable difference in paint job results. Cheap brushes shed bristles into wet paint, cheap rollers leave lint and uneven coverage, and inadequate drop cloth protection leads to expensive cleanup or permanent damage.
Drop Cloths, Painter's Tape, and Protective Equipment
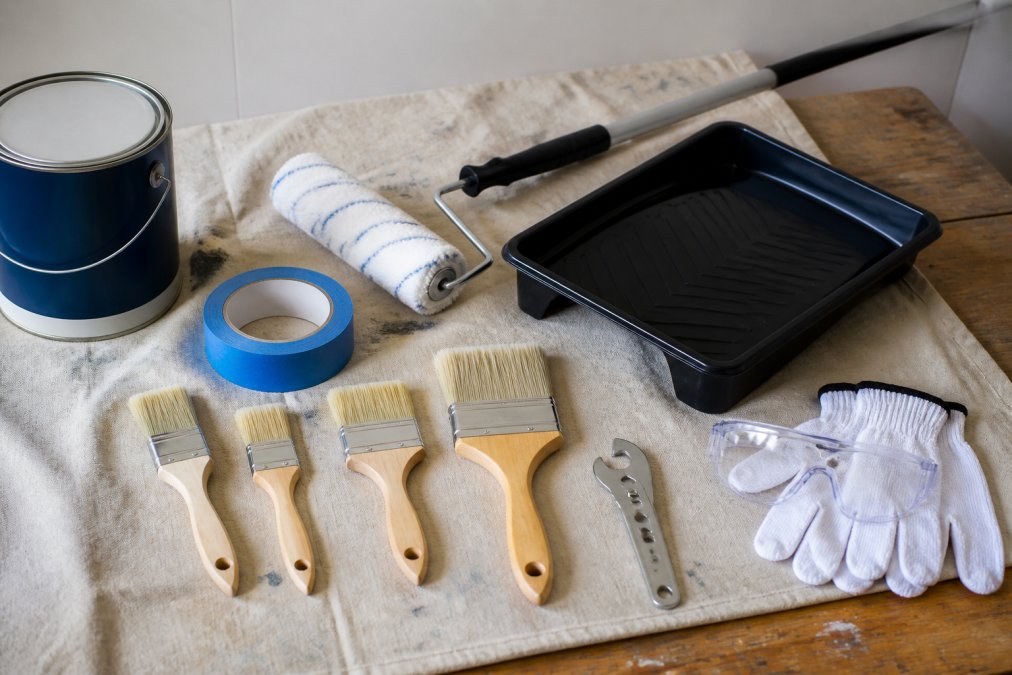
Canvas drop cloths (as opposed to plastic) absorb paint without creating slipping hazards and last through multiple projects. Quality painter's tape (often blue or green) adheres firmly without leaving residue when removed. Apply tape carefully, pressing the edge firmly to prevent paint seeping underneath. Remove tape while paint is still slightly tacky, not fully dry.
Wear clothes you don't mind getting paint on and use drop cloths to protect your shoes. Proper ventilation is essential; open windows and use fans to circulate air throughout the painting process.
Brushes, Rollers, and Application Tools
Paint brushes come in natural bristle (for oil-based paints) and synthetic bristle (for latex/water-based paints). Most modern interior painting uses latex paint, requiring synthetic bristles. A quality 2-inch angled brush handles trim and detail work, while a 3-inch straight brush works for larger areas.
Paint rollers apply paint to large flat areas far more efficiently than brushes. A 9-inch roller with a 3/8-inch nap works for most interior walls. Thinner naps (1/4 inch) work on smooth walls, while thicker naps (1/2 to 3/4 inch) work on textured surfaces. Rinse a new roller thoroughly before painting to remove loose fibers.
How to Properly Prime Walls and Apply Paint
Priming and painting are distinct steps, each with specific purposes. Skipping primer to save time and money creates problems that no amount of paint can solve. Primer seals the wall surface, improves paint adhesion, and ensures even paint coverage, particularly important over repairs, stains, or color changes.
Primer Application and Paint Adhesion
Primer seals porous surfaces and provides a uniform base for paint. Drywall repairs, new drywall, and raw wood all have different porosity than finished painted walls. Without primer, paint absorbs unevenly, creating dull spots or blotchy coverage.
Apply primer with the same technique as paint: brush for detail and edges, roller for large flat areas. Prime the entire room if making a significant color change or painting new drywall. If repainting with a similar color over existing paint in good condition, primer is optional but still recommended over repairs and patched areas. Allow primer to dry completely before applying paint (the EPA). Use paint rated for interior walls. Quality interior paint covers better, lasts longer, and resists staining more effectively than budget paint.
Cut-In Technique and Roller Coverage for Even Results
The cut-in technique, painting edges and detail areas with a brush before rolling, creates clean lines and prevents roller marks near walls and ceilings. Load your brush by dipping it halfway into the paint tray, then tapping it against the tray edge to remove excess. Paint a 2-3 inch band along the ceiling, corners, and trim before rolling the main wall area.
Rolling technique matters enormously. Load the roller by rolling it in the paint tray until evenly saturated but not dripping. Roll in a W or zigzag pattern on the wall, then fill in the pattern without lifting the roller. Maintain a wet edge by finishing one section before the previous section dries. Apply paint in thin, even coats rather than one thick coat. Two thin coats provide better coverage and durability than one thick coat. Allow the first coat to dry completely (typically 2-4 hours for latex paint) before applying the second coat.
Eco-Friendly and Low-VOC Paint Options
Volatile organic compounds (VOCs) are chemicals in traditional paint that evaporate as the paint dries, releasing odors and potentially affecting indoor air quality (the CDC). Low-VOC and zero-VOC paints minimize these emissions without sacrificing performance or color quality.
Low-VOC paints contain less than 50 grams per liter of VOCs, while zero-VOC paints contain less than 5 grams per liter (the EPA). The difference in performance between traditional and low-VOC paint is negligible; coverage, durability, and appearance are essentially identical. The primary benefit is reduced odor and improved indoor air quality during and after painting. Major paint manufacturers now offer extensive low-VOC and zero-VOC lines, making it straightforward to find your preferred color in an eco-friendly formulation.
Cost to Paint Interior of House: DIY vs. Professional
The decision between DIY and professional painting involves more than just material costs. Time investment, skill requirements, equipment needs, and potential mistakes factor into the true cost of each approach.
Budgeting for Professional vs. DIY Painting
DIY painting requires purchasing supplies: paint, primer, brushes, rollers, drop cloths, painter's tape, and potentially sandpaper and spackling compound. For a typical bedroom, these supplies cost less than professional labor. However, DIY painting demands significant time investment; preparation, priming, and painting typically require 40-60 hours for a modest home.
Professional painting eliminates the time investment and reduces the risk of mistakes, but costs considerably more. Some projects suit DIY approaches (single rooms with straightforward wall conditions), while others benefit from professional expertise (homes with textured walls, challenging color changes, or extensive prep work).
Consider your skill level honestly. If you've never painted before, a single room is a reasonable learning project. If your home has extensive repairs needed, textured walls, or you're making a dramatic color change, professional results might justify the expense.
Lighting Impact on Color Selection and Final Results
Lighting transforms how paint colors appear. A color that looks perfect under showroom lighting may appear entirely different in your home's actual lighting conditions. Natural light, artificial lighting, and the direction windows face all affect color perception.
Test colors before committing. Paint large swatches (at least 2x2 feet) on your actual walls and observe them at different times of day. Morning light, afternoon light, and evening artificial light reveal how colors truly perform in your space. Colors appear different under north-facing light (cool, consistent) versus south-facing light (warm, bright) versus east or west-facing light (directional, changing throughout the day).
Troubleshooting Common Painting Mistakes
Even experienced painters encounter occasional issues. Understanding what causes common problems and how to fix them prevents small mistakes from becoming expensive do-overs.
Brush bristles in wet paint: This happens with cheap brushes or when bristles aren't properly secured. Invest in quality brushes and inspect them before use. If bristles appear in wet paint, remove them carefully with a brush or putty knife before they dry into the paint.
Lap marks and uneven coverage: These visible lines occur when you allow paint to dry before overlapping the next roller pass. Maintain a wet edge by working quickly and rolling the next section before the previous one dries.
Paint not sticking to glossy surfaces: Glossy paint, tile, or other non-porous surfaces require sanding or primer designed for adhesion. Never paint directly over glossy surfaces; sand them lightly first or use a bonding primer.
Bubbling or peeling paint: Bubbling usually means moisture is trapped under the paint, often from painting over wet walls or in high-humidity conditions. Peeling indicates the paint didn't adhere properly to the surface below. Both require removing the failing paint and addressing the underlying cause before repainting.
Visible repairs after painting: Repairs that show as dull or shiny spots indicate insufficient primer. Always prime repair areas and 6 inches beyond them to ensure even paint absorption.
Professional interior painting transforms spaces, but success depends on understanding color trends, selecting appropriate finishes, and executing proper preparation and application techniques. The 2026 palette of warm neutrals and earthy tones offers sophisticated, forgiving color choices that work across diverse design styles. Whether you choose DIY or professional painting, the principles remain constant: preparation determines results, proper technique matters more than paint quantity, and attention to detail separates amateur from professional outcomes.
California Crews / Painting & Fencing Modesto specializes in interior painting that delivers professional results with meticulous attention to preparation, color selection, and application. Get started with a consultation to discuss your project scope and discover how professional painting can transform your space.
Frequently Asked Questions
Q: What are the most popular interior paint colors for 2026?
A: Warm neutrals and earthy tones lead 2026 trends, with greige, taupe, sandy beige, and sage green gaining significant traction. These organic tones create sophisticated, timeless interiors that feel expensive without bold statements. Terracotta and warm brown undertones also appear in accent walls and trim work. The shift favors colors that work with natural light rather than fighting it, making color swatching under your home's actual lighting conditions essential before committing.
Q: What paint finishes are best for high-traffic areas in 2026?
A: Satin and eggshell finishes dominate high-traffic spaces because they balance durability with aesthetic appeal. Satin finish offers superior sheen durability and wipes clean easily, making it ideal for hallways, kitchens, and children's rooms. Eggshell provides a softer appearance while maintaining washability. Matte finishes look beautiful but show marks quickly in busy areas. Consider satin for trim and eggshell for walls in spaces with heavy use, this combination maximizes both longevity and visual appeal.
Q: How do I properly prepare drywall for a professional-grade finish?
A: Surface preparation determines final quality more than any other factor. Start by patching holes and cracks with joint compound, sanding smooth once dry. Fill gaps at trim and corners. Clean all surfaces to remove dust, then apply primer, this ensures paint adhesion and even color coverage. Allow proper dry time between primer and paint application (check your product's recoat interval). Quality preparation takes time but eliminates peeling, uneven coverage, and premature wear that plague rushed jobs.
Q: What's the difference between DIY painting and hiring a professional?
A: Professional painters bring efficiency, equipment, and expertise that homeowners typically lack. They complete projects faster, avoid costly mistakes, and deliver consistent finishes across large areas. DIY painting costs less in materials but demands your time, requires tool investment, and risks uneven coverage or paint drips. The cost to paint interior of house varies significantly based on square footage, surface condition, and paint quality. Get quotes from local professionals to compare against your DIY budget before deciding.
Q: How does lighting affect my interior paint color choice?
A: Natural and artificial light dramatically shift how colors appear throughout the day. North-facing rooms receive cooler, indirect light that can make warm colors feel muddy; south-facing spaces with bright sunlight intensify warm tones. Artificial lighting (warm versus cool bulbs) creates different undertone effects at night. Always swatch colors on your actual walls at different times of day before painting. What looks perfect in the store may clash with your home's unique lighting conditions, making this step non-negotiable for color satisfaction.
Q: What are low-VOC paints, and why do homeowners choose them?
A: Low-VOC (volatile organic compound) paints release fewer harmful chemicals during and after application, improving indoor air quality and reducing health risks, particularly important for homes with children or pets. They perform identically to standard paints in coverage, durability, and finish options while minimizing odor and off-gassing. The slight premium in cost is offset by health benefits and improved comfort during and after painting. Many homeowners now default to low-VOC options as a responsible choice for family health.
Q: What common painting mistakes should I avoid?
A: Skipping primer is the costliest mistake, it leads to poor adhesion, uneven color, and peeling within months. Applying paint in wrong conditions (too cold, too humid, or direct sunlight) causes adhesion failure and extended dry time. Insufficient surface preparation leaves dust and debris embedded in the finish. Using low-quality tools like cheap brushes or thin rollers produces streaks and uneven coverage. Rushing between coats without proper recoat intervals weakens the finish. Taking time on preparation and following product instructions prevents these problems and delivers lasting results.
This article was written using GrandRanker
Frequently Asked Questions
Q: What are the most popular interior paint colors for 2026?
A: Warm neutrals and earthy tones lead 2026 trends, with greige, taupe, sandy beige, and sage green gaining significant traction. These organic tones create sophisticated, timeless interiors that feel expensive without bold statements. Terracotta and warm brown undertones also appear in accent walls and trim work. The shift favors colors that work with natural light rather than fighting it, making color swatching under your home's actual lighting conditions essential before committing.
Q: What paint finishes are best for high-traffic areas in 2026?
A: Satin and eggshell finishes dominate high-traffic spaces because they balance durability with aesthetic appeal. Satin finish offers superior sheen durability and wipes clean easily, making it ideal for hallways, kitchens, and children's rooms. Eggshell provides a softer appearance while maintaining washability. Matte finishes look beautiful but show marks quickly in busy areas. Consider satin for trim and eggshell for walls in spaces with heavy use—this combination maximizes both longevity and visual appeal.
Q: How do I properly prepare drywall for a professional-grade finish?
A: Surface preparation determines final quality more than any other factor. Start by patching holes and cracks with joint compound, sanding smooth once dry. Fill gaps at trim and corners. Clean all surfaces to remove dust, then apply primer—this ensures paint adhesion and even color coverage. Allow proper dry time between primer and paint application (check your product's recoat interval). Quality preparation takes time but eliminates peeling, uneven coverage, and premature wear that plague rushed jobs.
Q: What's the difference between DIY painting and hiring a professional?
A: Professional painters bring efficiency, equipment, and expertise that homeowners typically lack. They complete projects faster, avoid costly mistakes, and deliver consistent finishes across large areas. DIY painting costs less in materials but demands your time, requires tool investment, and risks uneven coverage or paint drips. The cost to paint interior of house varies significantly based on square footage, surface condition, and paint quality. Get quotes from local professionals to compare against your DIY budget before deciding.
Q: How does lighting affect my interior paint color choice?
A: Natural and artificial light dramatically shift how colors appear throughout the day. North-facing rooms receive cooler, indirect light that can make warm colors feel muddy; south-facing spaces with bright sunlight intensify warm tones. Artificial lighting (warm versus cool bulbs) creates different undertone effects at night. Always swatch colors on your actual walls at different times of day before painting. What looks perfect in the store may clash with your home's unique lighting conditions, making this step non-negotiable for color satisfaction.
Q: What are low-VOC paints, and why do homeowners choose them?
A: Low-VOC (volatile organic compound) paints release fewer harmful chemicals during and after application, improving indoor air quality and reducing health risks—particularly important for homes with children or pets. They perform identically to standard paints in coverage, durability, and finish options while minimizing odor and off-gassing. The slight premium in cost is offset by health benefits and improved comfort during and after painting. Many homeowners now default to low-VOC options as a responsible choice for family health.
Q: What common painting mistakes should I avoid?
A: Skipping primer is the costliest mistake—it leads to poor adhesion, uneven color, and peeling within months. Applying paint in wrong conditions (too cold, too humid, or direct sunlight) causes adhesion failure and extended dry time. Insufficient surface preparation leaves dust and debris embedded in the finish. Using low-quality tools like cheap brushes or thin rollers produces streaks and uneven coverage. Rushing between coats without proper recoat intervals weakens the finish. Taking time on preparation and following product instructions prevents these problems and delivers lasting results.