 how-to
Wood Fence Maintenance Tips for Spring: 2026 Guide
Table of Contents
- Spring Wood Fence Maintenance Checklist: Start Here
- How to Inspect Your Wood Fence for Winter Damage
- How to Clean a Wood Fence Without Damaging It
- Signs of Wood Fence Rot and How to Repair Loose Boards
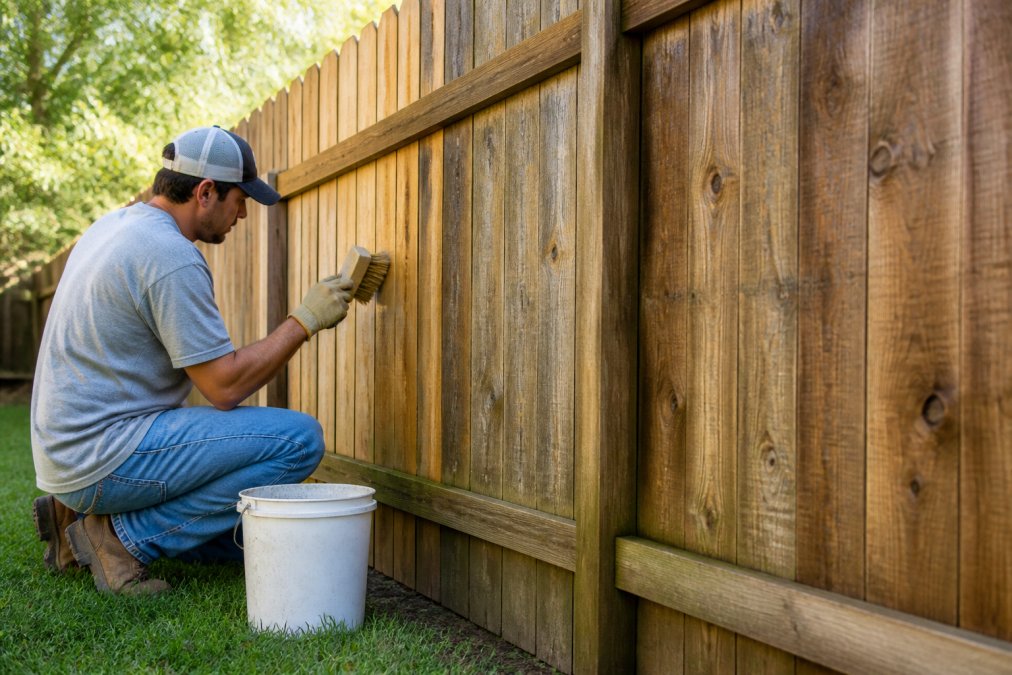
- Wood Fence Staining Tips for Spring
- Climate-Specific Spring Fence Care for the Central Valley
- Conclusion: Protect Your Fence Investment
- Frequently Asked Questions
Last Updated: September 10, 2026
Spring Wood Fence Maintenance Checklist: Start Here
Spring wood fence maintenance starts with one principle: catch small problems before summer heat and irrigation turn them into expensive ones. A fence that gets a focused inspection and cleaning each spring can last years longer than one left alone. This guide walks through the full sequence, from inspecting for winter damage to staining and sealing exposed wood.
Winter is hard on exterior wood: moisture, freeze-thaw cycles, and storm debris all take a toll, and damage that looks minor in March can mean a leaning post or rotted rail by July. The checklist below follows the order that matters: inspect, clean, repair, protect.
| Step | Task | Why It Matters |
|---|---|---|
| 1 | Inspect for winter damage | Find problems before they spread |
| 2 | Clear debris and clean | Removes moisture traps and surface growth |
| 3 | Check for rot and decay | Rotten wood spreads to sound boards |
| 4 | Repair loose boards and hardware | Restores structural integrity |
| 5 | Stain and seal | Adds UV protection and water repellent |
Tool Checklist for Spring Fence Maintenance
Gather these before you start:
- Stiff brush with a long handle
- Bucket and mild detergent
- Garden hose or pressure washer with a wide-tip nozzle
- Flat pry bar and hammer
- Replacement galvanized nails, screws, and bolts
- Cordless drill or driver
- Wood preservative and exterior wood finish
- Work gloves and safety glasses
- Putty knife for scraping loose finish
How to Inspect Your Wood Fence for Winter Damage
A thorough inspection takes about 30 minutes for an average residential fence, and it's the step most homeowners skip. Walk the entire perimeter and check every post, rail, and panel from both sides for leaning posts, cracked or split boards, popped nails, and any section that moves when you push on it.
Pay attention to the bottom of the fence, where moisture sits longest and wood decay almost always starts. Check each post base for soft spots and the soil line for water pooling rather than draining away.
Checking for Rot and Decay
Test suspicious wood with a screwdriver or putty knife. If it sinks in easily or the wood crumbles, that section is compromised. Sound wood resists the probe and feels firm.
Knotholes and end grain absorb water fastest, so check them first. If rot has spread across more than a small area of a board, replace it rather than patching.
How to Clean a Wood Fence Without Damaging It
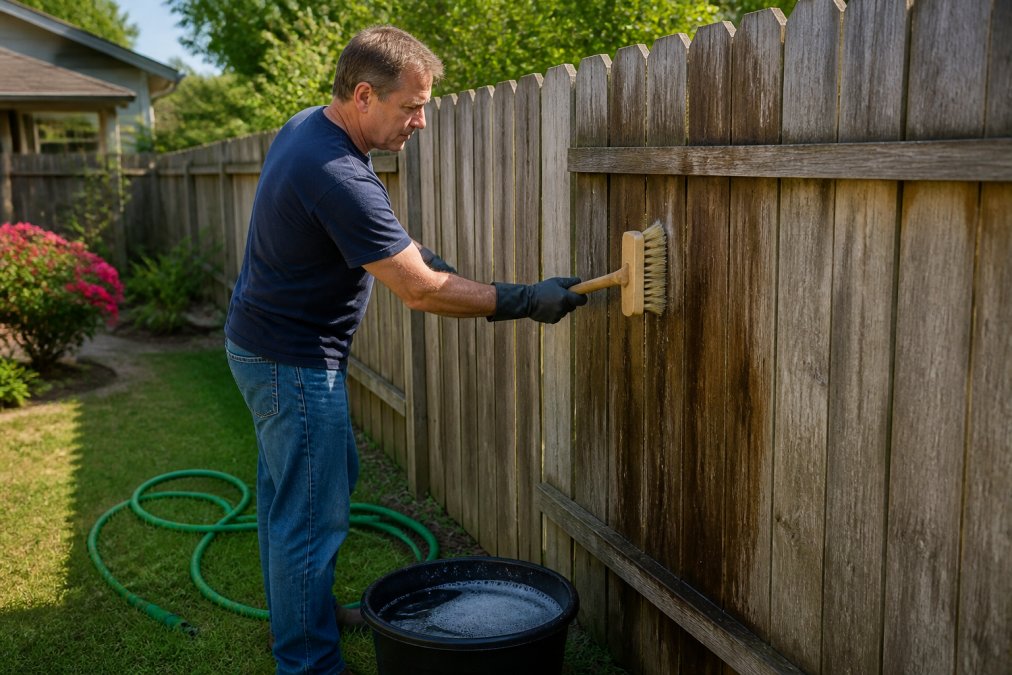
Cleaning a wood fence safely means matching your method to the wood's condition. Clear debris around the base, leaves, dirt, mulch, anything piled against the boards, since that line is where moisture sits longest and the bottom boards rot first. Then scrub in sections from the top down so runoff doesn't streak cleaned wood.
Rinse with a garden hose on a gentle setting. Never aim a high-pressure stream at the wood grain, since it gouges soft fibers and drives water into joints, speeding up wood decay. Use a wide fan tip and a moving wand with any powered sprayer.
Eco-Friendly Cleaning Solutions You Can Mix at Home
The cleaning solution is where you either protect the wood or set it up for premature graying. These three mixes cover most spring fence cleaning jobs, and none require specialty products:
- Oxygen bleach and water (mildew and gray wood): Mix roughly one cup of oxygen bleach powder per gallon of warm water. Apply with a pump sprayer or brush, let it dwell 10 to 15 minutes, then scrub and rinse. Oxygen bleach lifts mildew and oxidized wood fibers without the chlorine smell or the risk of bleaching the finish unevenly.
- White vinegar and water (light surface grime): A 1:1 mix in a spray bottle handles pollen film, dust, and light dirt on fences that are still in good shape. It is gentle enough for a fence you plan to seal the same weekend, provided you rinse thoroughly and let it dry.
- Dish soap and warm water (general scrubbing): A few drops of a mild, biodegradable dish soap per gallon of water is the workhorse mix for a stiff-brush scrub. Skip anything with bleach or abrasive additives, which dull the surface and strip existing finish.
Pressure Washing vs. Manual Scrubbing
Pressure washing is faster on large fences, but not automatically right. Too high a setting strips the surface layer, opens the grain, and leaves the fence more vulnerable to moisture than before. Manual scrubbing with a stiff brush and mild detergent is slower but gentler, and better for older or weathered fences.
If you pressure wash, use the widest nozzle, keep the wand moving, and stay 8 to 12 inches off the surface. Never hold it in one spot. Work with the grain and angle the tip slightly downward so water isn't driven up under the boards.
Cleaning Around Plants, Pets, and Irrigation
Runoff matters. Oxygen bleach and vinegar mixes are generally safe around established landscaping if you rinse afterward, but concentrated dish soap can stress grass and bedding plants. If the fence line sits against a garden bed, pre-wet the plants, keep the spray low, and rinse the soil afterward. Also check irrigation heads: sprinklers that hit the fence keep bottom boards constantly damp, a direct path to wood decay. Adjust spray heads so they water the yard, not the fence.
Signs of Wood Fence Rot and How to Repair Loose Boards
Loose boards and rail instability are the clearest early signs of wood fence rot. A wobbling rail, a board pulling away from its fastener, or a post leaning after a wet winter all point to the same issue: water has gotten in and the wood is losing structural integrity.
Repairing loose boards is usually straightforward. Pull the old fastener, check the wood around the hole for softness, and if the board is sound, reattach it with a slightly larger galvanized screw. If the hole is rotted out, drill a new fastener location a few inches away rather than reusing compromised wood.
For leaning posts, the fix depends on the cause. A post loose in the ground can often be re-set and braced; one rotting at the base needs replacing.
When to Replace vs. Repair Your Fence
Rule of thumb: repair when damage is isolated and surrounding wood is sound; replace when rot has spread across multiple boards or reached the posts. A single cracked board is a repair. Three rotted boards in one panel, or a post soft at the base, usually means that section needs rebuilding.
If more than a quarter of your fence shows rot, patching becomes a losing battle. You'll spend more over two seasons than a partial replacement would have cost up front.
| Situation | Recommended Action |
|---|---|
| One cracked or loose board | Repair in place |
| Rot in knotholes or end grain only | Replace the board |
| Leaning post, wood still sound | Re-set and brace |
| Rot at post base | Replace the post |
| Rot across multiple panels | Partial replacement |
Wood Fence Staining Tips for Spring
Staining protects everything you just repaired, and spring is the right window: after the wet season passes but before summer heat and UV stress the surface. Wood must be clean, dry, and above roughly 50°F for the finish to cure, with at least 24 to 48 hours of dry weather on either side of application (extension.psu.edu).
Prep Work That Determines How Long the Finish Lasts
Most failed stain jobs fail in prep, not application. Before you open a can:
- Strip or sand loose finish. A putty knife handles flaking stain; a light sanding with 80- to 120-grit paper opens the grain on bare or checked boards. Always sand with the grain.
- Kill any mildew. If you see black or green growth, treat it with an oxygen bleach solution and let the wood dry fully. Staining over mildew traps it under the film and it comes back through the finish.
- Test moisture, not just dryness. Sprinkle a few drops of water on the surface. If it beads up, the wood is still too wet to stain. If it soaks in within a minute or two, the wood is ready. A moisture meter reading under about 12 to 15 percent is the safer target for exterior wood (extension.umn.edu).
- Mask hardware and adjacent surfaces. Stain on metal hinges, latches, and concrete is far harder to remove than to prevent.
Choosing the Right Product for Your Fence
Three broad categories exist, and the right pick depends on how much protection the wood needs and how much maintenance you'll do:
- Clear water repellent: Minimal color change, easy to reapply, but limited UV protection. Best for newer cedar or redwood you want to keep natural.
- Semi-transparent stain: Lets grain show through while adding pigment that blocks UV. A good middle ground for most residential fences.
- Solid stain: The most UV and moisture protection and the longest service life, but it looks like paint and is harder to touch up without visible patches.
Apply a wood preservative first if the fence has never been treated, then an exterior wood finish with UV protection. A water repellent finish slows moisture absorption, the biggest factor in fence longevity. Two thin coats beat one thick coat, and back-brushing or rolling into the grain beats spraying alone on rough-sawn boards.
Spring Timing and Climate Considerations
Spring gives you a narrow but forgiving window. In wet-spring regions, wait for a stretch of dry days so the wood sheds its winter moisture before sealing. In arid regions, spring is often the last comfortable window before summer heat makes the finish flash-cure and dry unevenly, so apply in the morning when temperatures are moderate and humidity is higher.
Refreshing vs. Full Re-Staining
You don't need to strip and re-stain every spring. If the finish still beads water and the color is even, a light cleaning and one maintenance coat on the sun-facing side is enough. Plan a full re-stain every two to four years for semi-transparent products and every four to seven for solid stains, depending on sun and rain exposure (extension.purdue.edu). The sun-facing side always needs attention first.
Climate-Specific Spring Fence Care for the Central Valley
Central Valley conditions create a specific maintenance rhythm: wet winters followed by hot, dry summers. That swing is brutal on exterior wood. Boards absorb moisture through the rainy season, then bake and shrink through summer, which opens cracks that let the next winter's rain penetrate deeper.
For this climate, spring is the ideal window for sealing exposed wood: dry enough to accept a finish but not yet stressed by summer heat. Irrigation is another factor most guides miss, sprinklers that hit the fence line keep bottom boards constantly damp, a direct path to wood decay. Adjust spray heads so they don't soak the fence.
Homeowners associations and property managers often have their own standards for fence appearance and finish color. Check those requirements before buying stain, since redoing a fence to match HOA rules costs far more than getting it right the first time.
Conclusion: Protect Your Fence Investment
A fence is one of the larger exterior investments a property owner makes, and spring maintenance determines whether it delivers a decade of service or starts failing in three years. The sequence matters: inspect, clean, repair, protect. Skipping the inspection or sealing step is where most fences lose their edge.
If you'd rather hand the job to someone who does this every day, California Crews / Painting & Fencing Modesto handles wood fence repair, board replacement, and exterior painting and staining for residential and commercial properties so the work holds up through the summer heat.
Get started with California Crews / Painting & Fencing Modesto.
Frequently Asked Questions
What maintenance does a wooden fence need in spring?
Spring wood fence maintenance involves four main steps: inspect for winter damage like loose boards and leaning posts, clean off dirt and mildew with a stiff brush and mild detergent, repair any rot or hardware issues, and apply a fresh coat of stain or wood preservative. Doing this in spring protects the wood before summer heat and UV exposure set in, extending the fence's lifespan and keeping it looking sharp.
Should you oil or stain a wood fence in the spring?
Stain is the better choice for most fences in the Central Valley. Stain penetrates the wood grain and provides UV protection, while oil-based products need more frequent reapplication. Spring is ideal for staining because temperatures are moderate and moisture levels are lower than winter. Clean the fence first, let it dry for 24-48 hours, then apply stain with a brush or sprayer for even coverage and lasting protection.
Is pressure washing safe for all wood fences?
Pressure washing can damage soft or aged wood by forcing water into cracks and raising the grain. For most fences, use a low-pressure setting (under 1,500 PSI) and keep the nozzle at least 8-10 inches from the surface. For older or fragile fences, manual scrubbing with a stiff brush and mild detergent is safer. Whichever method you choose, let the wood dry completely before staining or sealing.
How do I identify rot or insect damage on my fence?
Signs of wood fence rot include soft or spongy spots, crumbling wood at the base of posts, discoloration, and a musty smell. Insect damage shows as small holes, sawdust-like frass, or hollow-sounding wood when tapped. Probe suspect areas with a screwdriver; if it sinks in easily, the wood is compromised. Minor rot can be repaired with wood filler, but extensive decay means replacing the affected boards or posts.